Every place I live and travel indelibly leaves a mark on me - most noticeably, on my tastebuds. Living in Japan ruined sushi and ramen for me anywhere outside its borders, living in HK made me appreciate Cantonese cuisine as one of the finest in the world. I have to admit, I was dubious about Singapore. I didn't really get what Singaporean food was about. But after 9 months, I have definitely developed a taste for certain Singaporean dishes/flavors, even for things I never imagined I'd like:
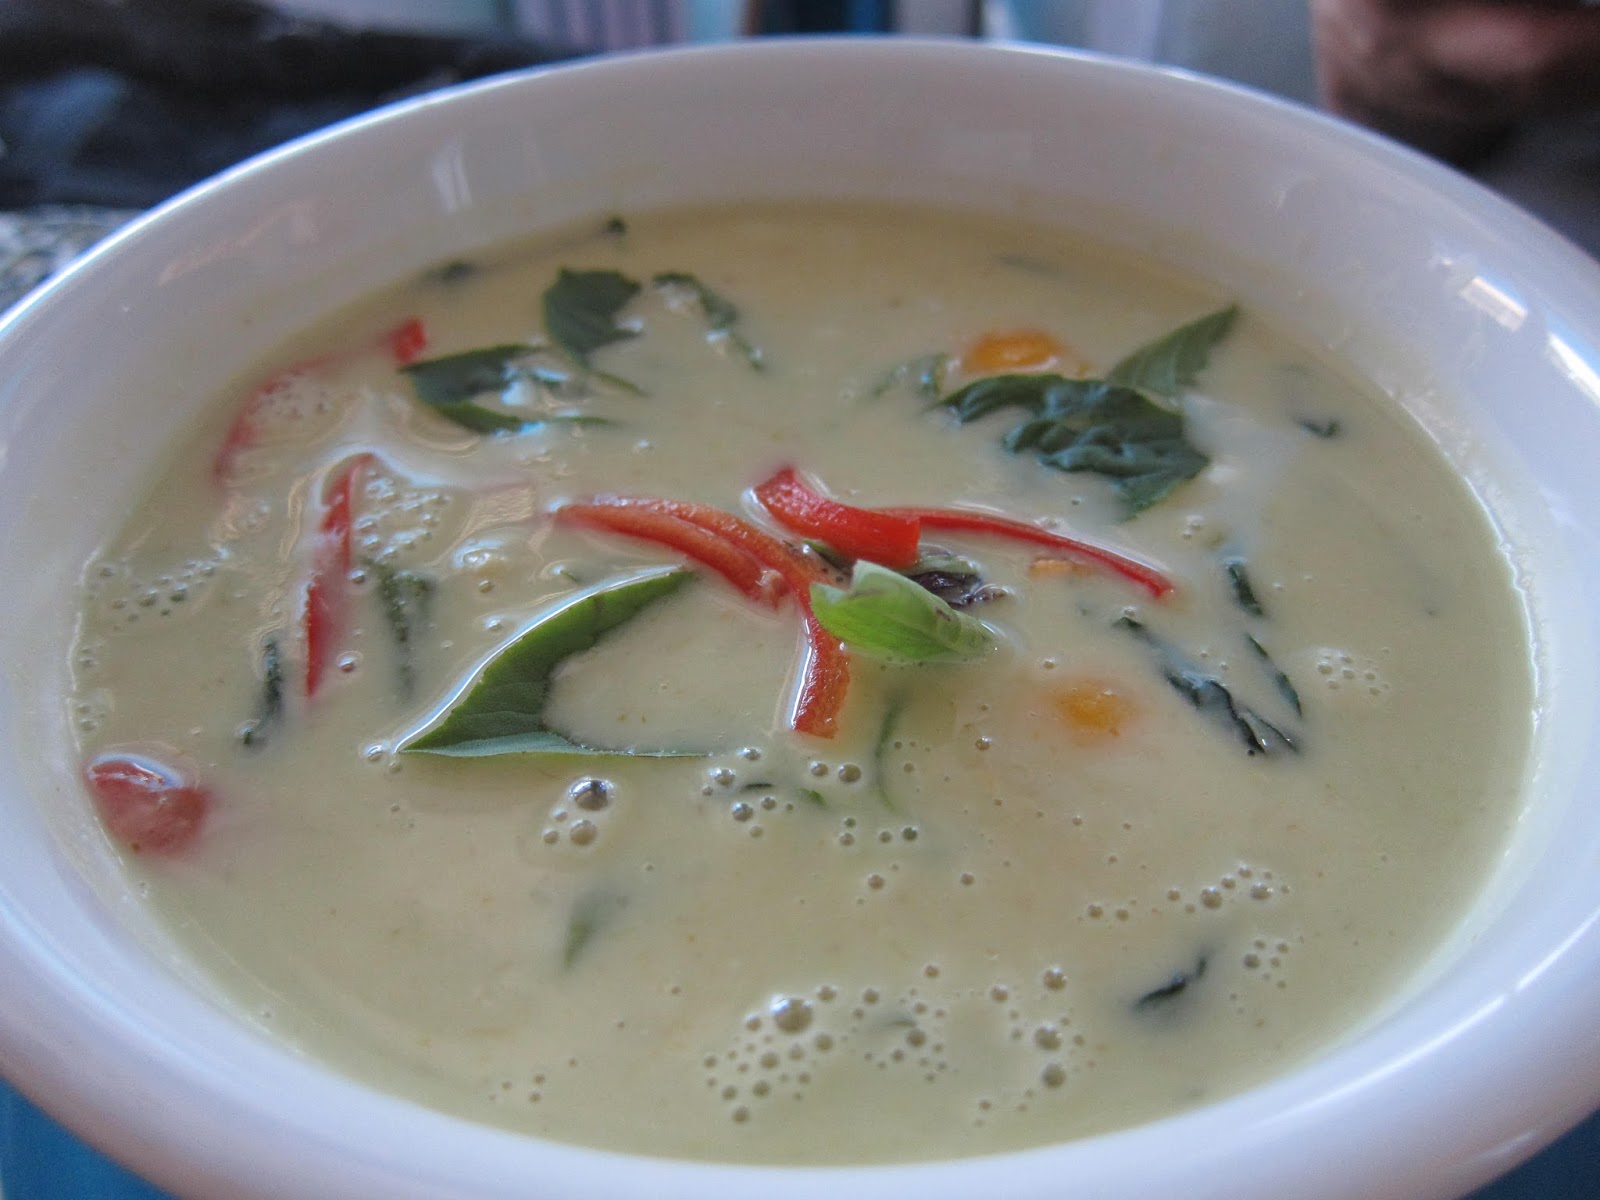
1. Curry fish head. I don't know, it just kind of sounded gross to me. Two very pungent smelling things probably shouldn't go together. Not to mention it's not even the body of the fish, but the fish head, eyeballs and all. But the curry fish head at Hong Kong Street Restaurant changed my mind - it is so savory, comforting and delicious. I get hungry just thinking about it.
2. Soft-boiled runny eggs with soy sauce. I used to hate yolks, especially runny egg yolks. But there is something about eating soft-boiled eggs with a little sweet soy sauce and kaya toast that makes weekend breakfast pretty much perfect.
3. Yong tau foo. I don't like fish paste or oden. But "dry" yong tau foo, which basically deep fries the sh*$ out of tofu and fish paste, which you then eat with sauce, is pretty darn tasty.
4. Chicken rice. Rice cooked with chicken fat. So simple, so tasty. I'm not a huge fan of cold steamed chicken though.
5. Thunder tea rice. I'd never even heard of it before, but I stumbled across this wonderful dish at a vegetarian restaurant one day and absolutely love it. It's red rice topped with a bunch of vegetables and pickles, which you then pour a tea concoction (which I believe is made with mint, basil, sesame seeds, tea leaves, among other ingredients) over, mix together and eat.
6. Roti prata. Actually, I was pretty sure I would love this before I even tried it. Fried thin, puffy dough with curry dipping sauce. Yum. I just didn't think I would like it for breakfast, which it typically is in Singapore. But it is indeed a perfect breakfast item if you're not watching your calories and don't care too much about your food having any actual nutritional value.
7. Singaporean kopi. Kopi is what Singaporeans call coffee. And their basic version is very sweet and strong, made with evaporated creamer. I haven't verified if it's true, but I've heard rumors that their coffee beans are also roasted in margarine. What?! I know, weird. But Singapore kopi is really freaking good - if you like Vietnamese cafe sua da, you will definitely like Singaporean kopi.